Installing a smart meter is essential for accurate energy monitoring and efficient management. The installation process is straightforward but requires careful attention to ensure optimal performance. This guide will walk you through each step of the installation process, from mounting the device to connecting it to your energy system.
Preparation and Safety Precautions
Before starting the installation of the smart energy meter, ensure that all necessary tools and safety precautions are in place:
Turn Off Power: Ensure the power supply to the area where the smart meter will be installed is turned off to avoid any electrical hazards.
Tools and Components: Prepare tools, such as a screwdriver, wrench, and etc..
Verify Compatibility: Make sure that the smart meter is compatible with your electrical system and the energy management setup you are using (e.g., grid-connected systems).

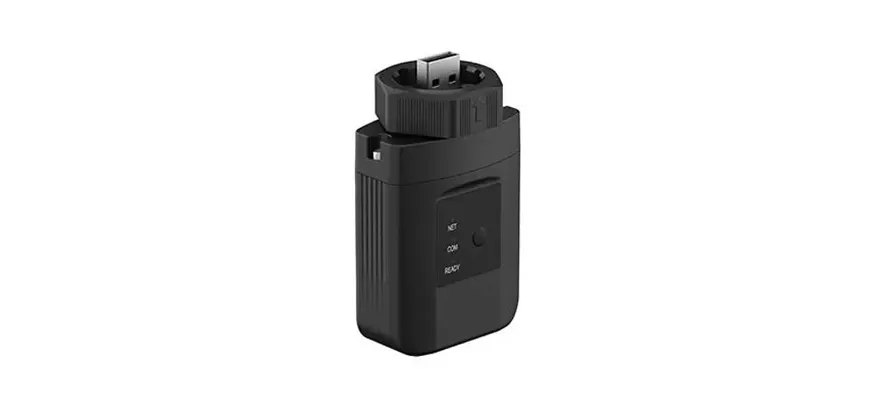
Mounting the Smart Meter
Mounting the smart meter properly is essential for secure and reliable operation:
Choose a Suitable Location: Select a location for the smart meter where it is easily accessible for monitoring and maintenance.
Install a Smart Meter: Usually the smart meter can be used at consumption side or grid side. Ensure the meter is upright and stable.
Wiring the Smart Meter
Proper wiring is critical for accurate data transmission and system functionality:
Power Supply Connection: Connect the power supply to the smart meter, ensuring that it is properly linked to your electrical system.
Check Connections: Double-check all wiring to ensure that there are no loose connections, which could result in inaccurate readings or system failure.

Configuring and Testing the Smart Meter
Once the smart meter is mounted and wired, it’s time to configure and test it:
Configure Communication Settings: Access the smart meter settings through SOLARMAN APP.
System Parameters: Input any required system parameters. This ensures the meter collects accurate data from your energy system.
Test the System: Power on the system and verify that the smart meter is communicating properly with the connected devices. Check if it starts logging data and transmitting it to the cloud or local storage.
Key Installation Steps for the Smart Meter
| Step | Description |
| Preparation | Turn off power, gather tools, and verify system compatibility. |
| Mounting | Install the meter in a suitable location. |
| Wiring | Connect to power supply, checking for loose connections. |
| Configuration & Testing | Configure communication settings and test the system for proper data transmission. |
Proper installation of the smart energy meter ensures that your energy monitoring system functions efficiently and accurately. By following these four simple steps—preparation, mounting, wiring, and configuration—you can ensure optimal performance from your Smart Meter. Once installed and configured, the smart meter will provide real-time data on energy consumption, helping you optimize your energy usage and reduce costs.

 EN
EN